Activating your TCL Roku TV ensures that it will be running the latest version of software. When connected to the internet, your Roku TV will check whether new software is available every 24-36 hours. The download and installation are done automatically without interrupting viewing on your Roku TV. Should you wish, you can also manually check for new software updates.
If your Roku TV is not connected to the internet, software updates must be done manually by first downloading the software to your computer, copying it to a USB flash drive and then connecting the USB flash drive to your Roku TV.
If you have NOT activated your Roku TV
If you do not have a USB flash drive, then you will need to get one.
-
Note: Use a standard USB 2.0 flash drive that is 256MB or larger.
The steps described below assume that you have not activated your Roku TV and that you selected Connect to the internet later during the initial setup of your Roku TV.
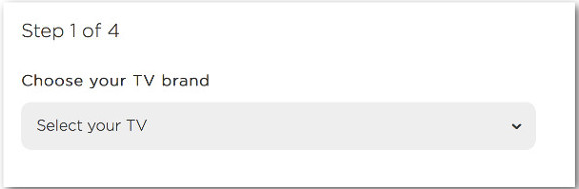
- Using the internet browser on your computer (not your smartphone), go to: https://tvupdate.roku.com/ and from the drop down menu, select the TV brand of your Roku TV (e.g. TCL);
- Next, enter the Roku Model Number.
-
Note: The Roku model number can be found by pressing the Home button on the Roku remote control, then selecting Settings > System > System update > I can’t connect. The Roku model number is 4 numbers followed by a letter (e.g. 6104X)

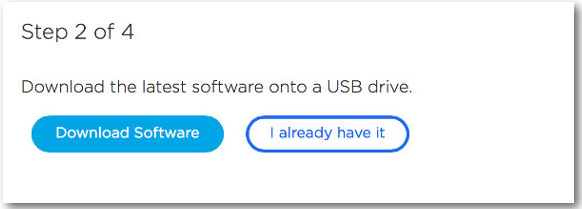
- Next, choose Download Software to download the update.roku installer file to your computer. If prompted, save the file to a known location like your desktop. After the download has completed you will need to locate the update.roku file on your computer; by default it is usually in the Downloads folder.
- Insert the USB flash drive and copy the update.roku file from your computer to the top-level directory of the USB flash drive. Once the transfer is complete, remove the USB flash drive from your computer and connect it into the USB port of your Roku TV.
-
Note: If you see the error message Update file could not be opened. Please try again then it is likely the USB drive format is not recognized; see Formatting your USB flash drive below.
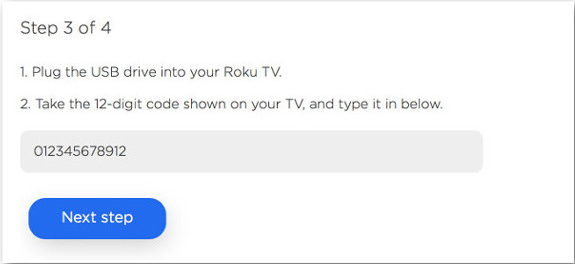
- Using the remote control, press the Home button, then select Settings > System > System update > I can’t connect. Your Roku TV will validate the file on the USB flash drive and display a 12-digit code.
-
Note: If you see an error message saying, Contents of the update file are invalid, then your Roku TV is already running the most current version of software.
- Take the 12-digit code and enter it into the corresponding text field on your computer.
- If you have entered the code correctly, then a 6-digit code will be displayed.
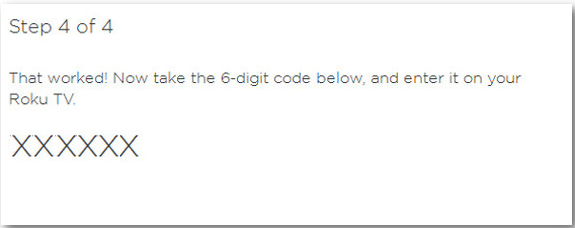
- Take this code to your Roku TV and enter it using the remote control. Your Roku TV will immediately begin the software update and restart when completed. Once your Roku TV has rebooted, you can remove the USB flash drive.
Formatting your USB flash drive
WARNING: Formatting a USB flash drive will erase all data on the device.
Formatting using your PC:
- Plug in the USB flash drive into your computer.
- Open your Control Panel and select Administrative Tools.
- Click on Computer Management > Disk Management, and right-click on the drive letter that corresponds to your USB drive. Select Format.
- If your USB flash drive capacity is greater than 2GB then select FAT32; if smaller than 2GB then select FAT16. Click OK to format your drive.
Formatting using your MAC:
- Plug in the USB flash drive into your computer.
- Open Finder and search for Disk Utility.
- Select the USB flash drive on the left panel.
- Click on Erase tab on the right panel.
- Select MS-DOS (FAT) from the format drop-down.
- Click the Erase button.
- Click the Erase button again when prompted to format your drive.